Introduction to the Auth0 Fine-Grained Authorization (FGA) Dashboard
What is Auth0 FGA Dashboard?
The Auth0 FGA Dashboard is a tool that helps you manage your Auth0 FGA setup.
It allows you to create, visualize and test your authorization models. It also allows you to create credentials in order to be able to directly call the Auth0 FGA API.
Getting started
-
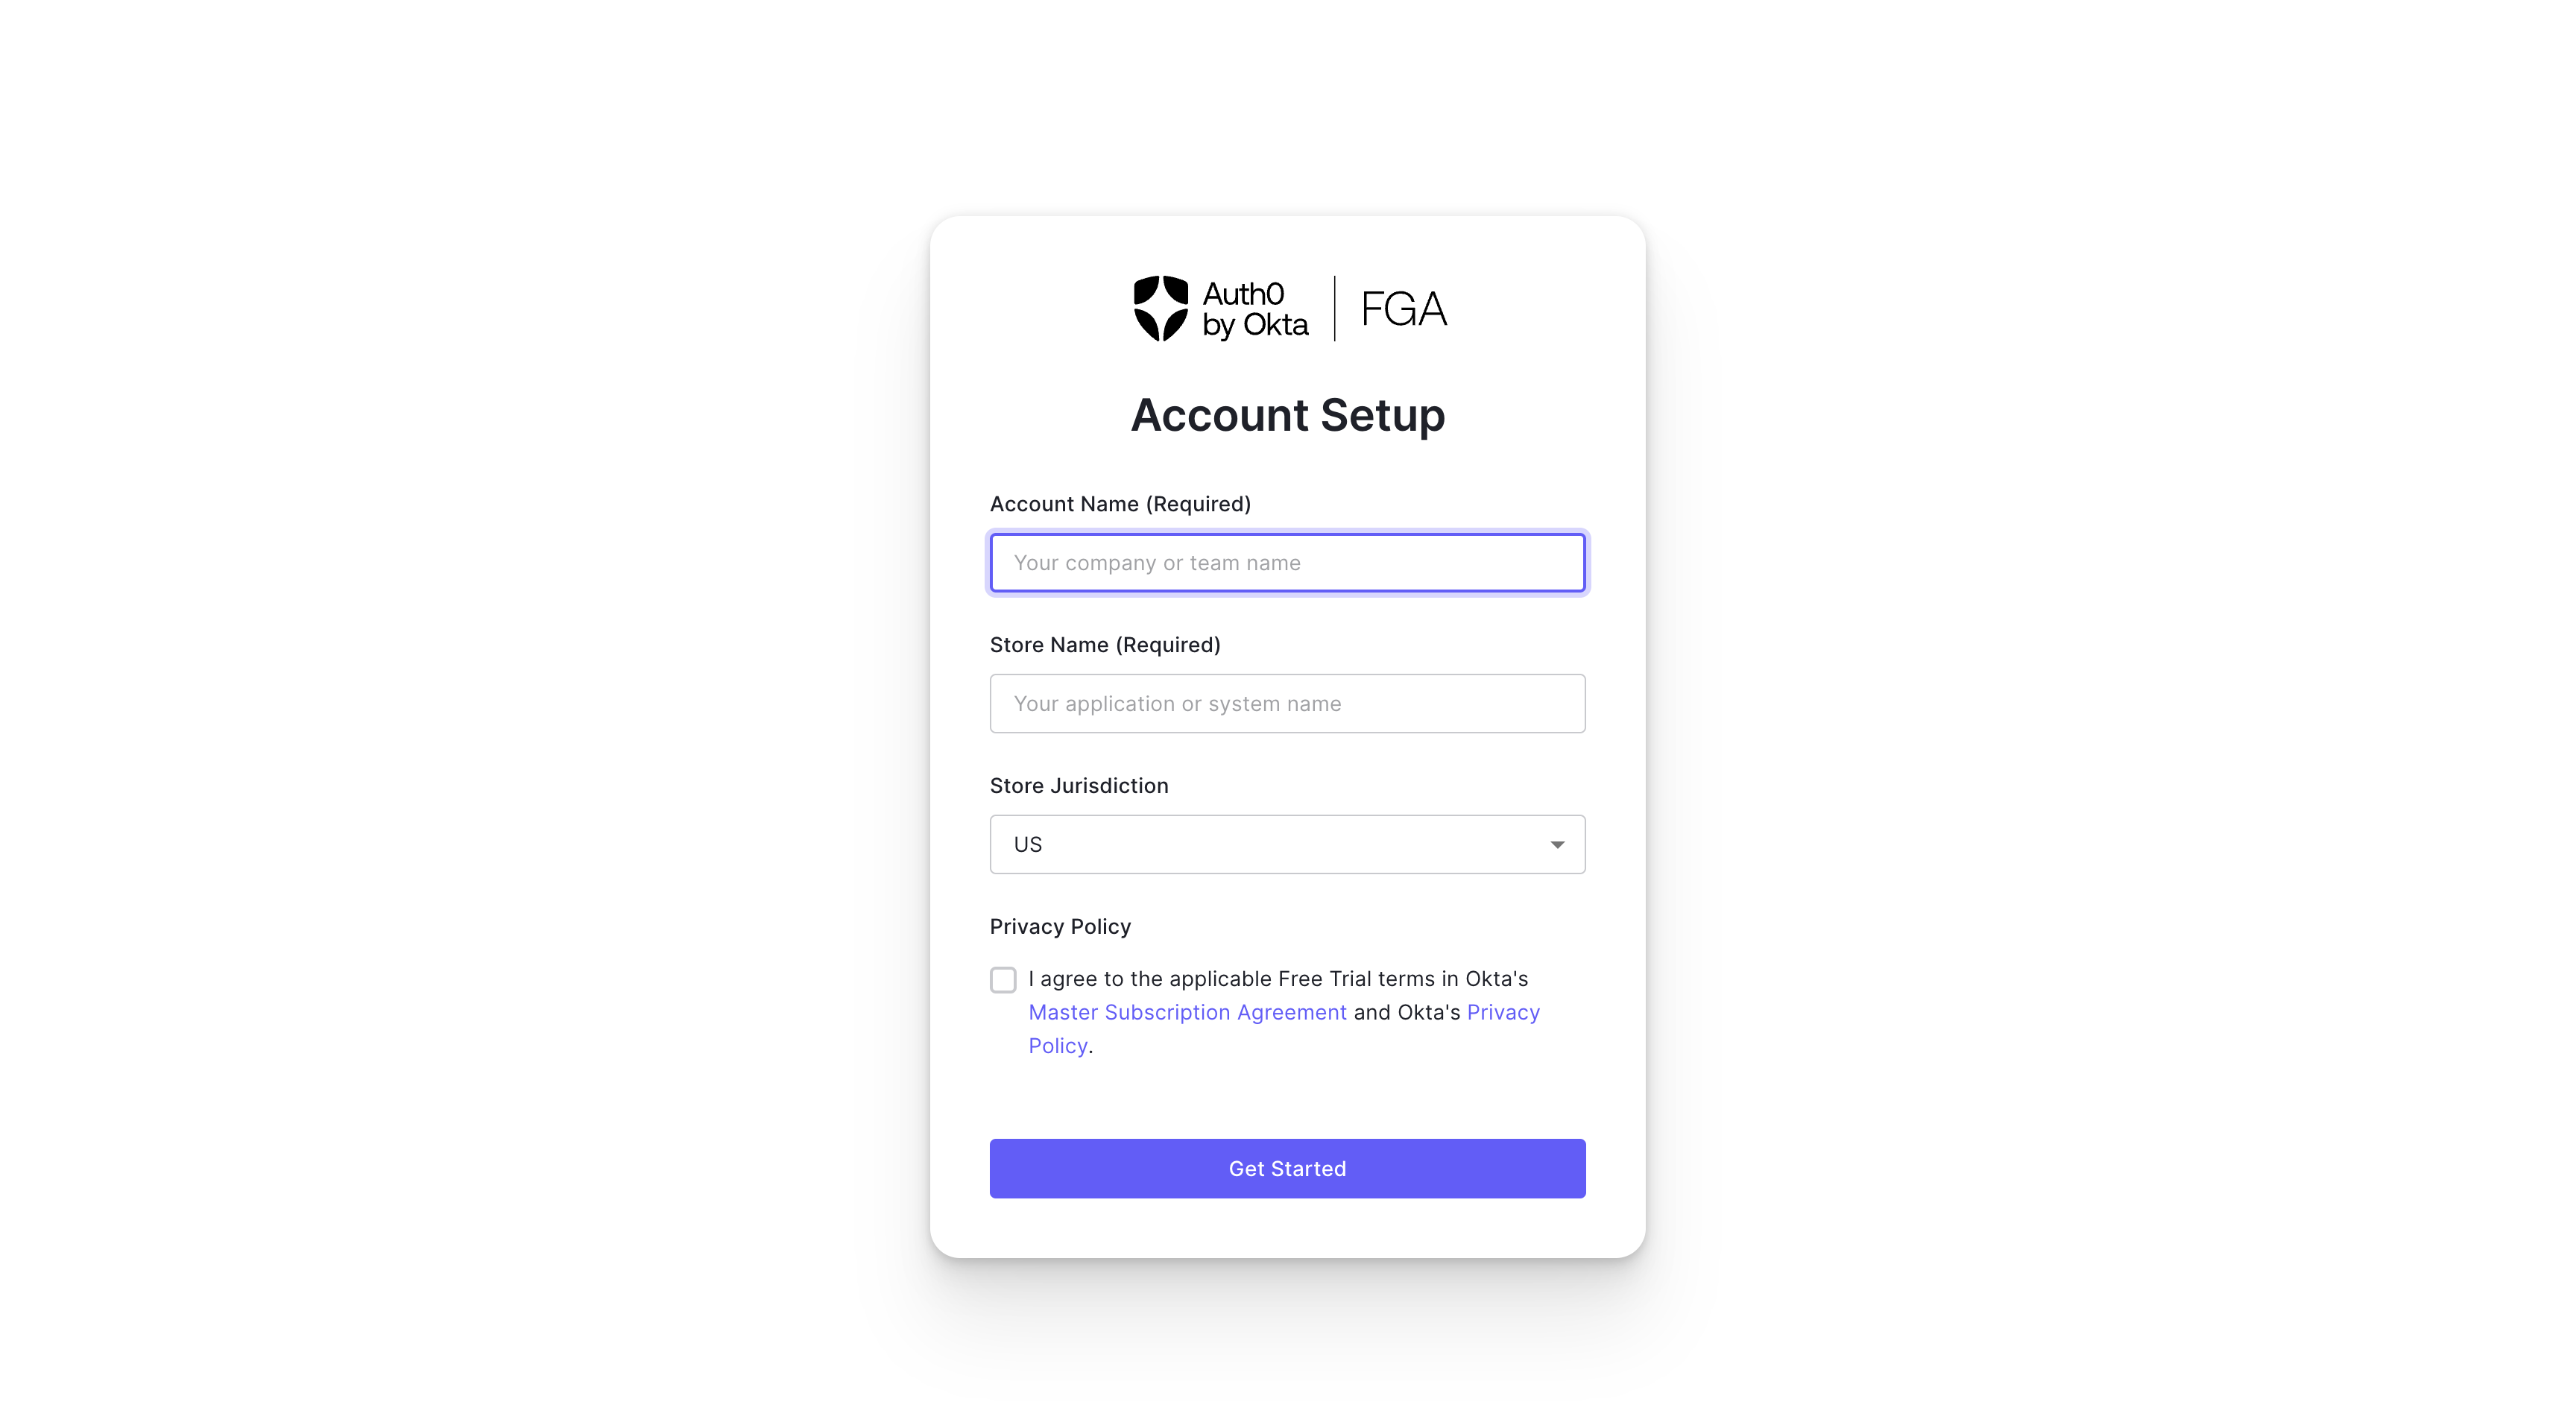
Log into the Auth0 FGA Dashboard. You will be asked to set up your account if this is the first time you have logged in. Enter an account name and store name in the provided text box and click Get Started.
-
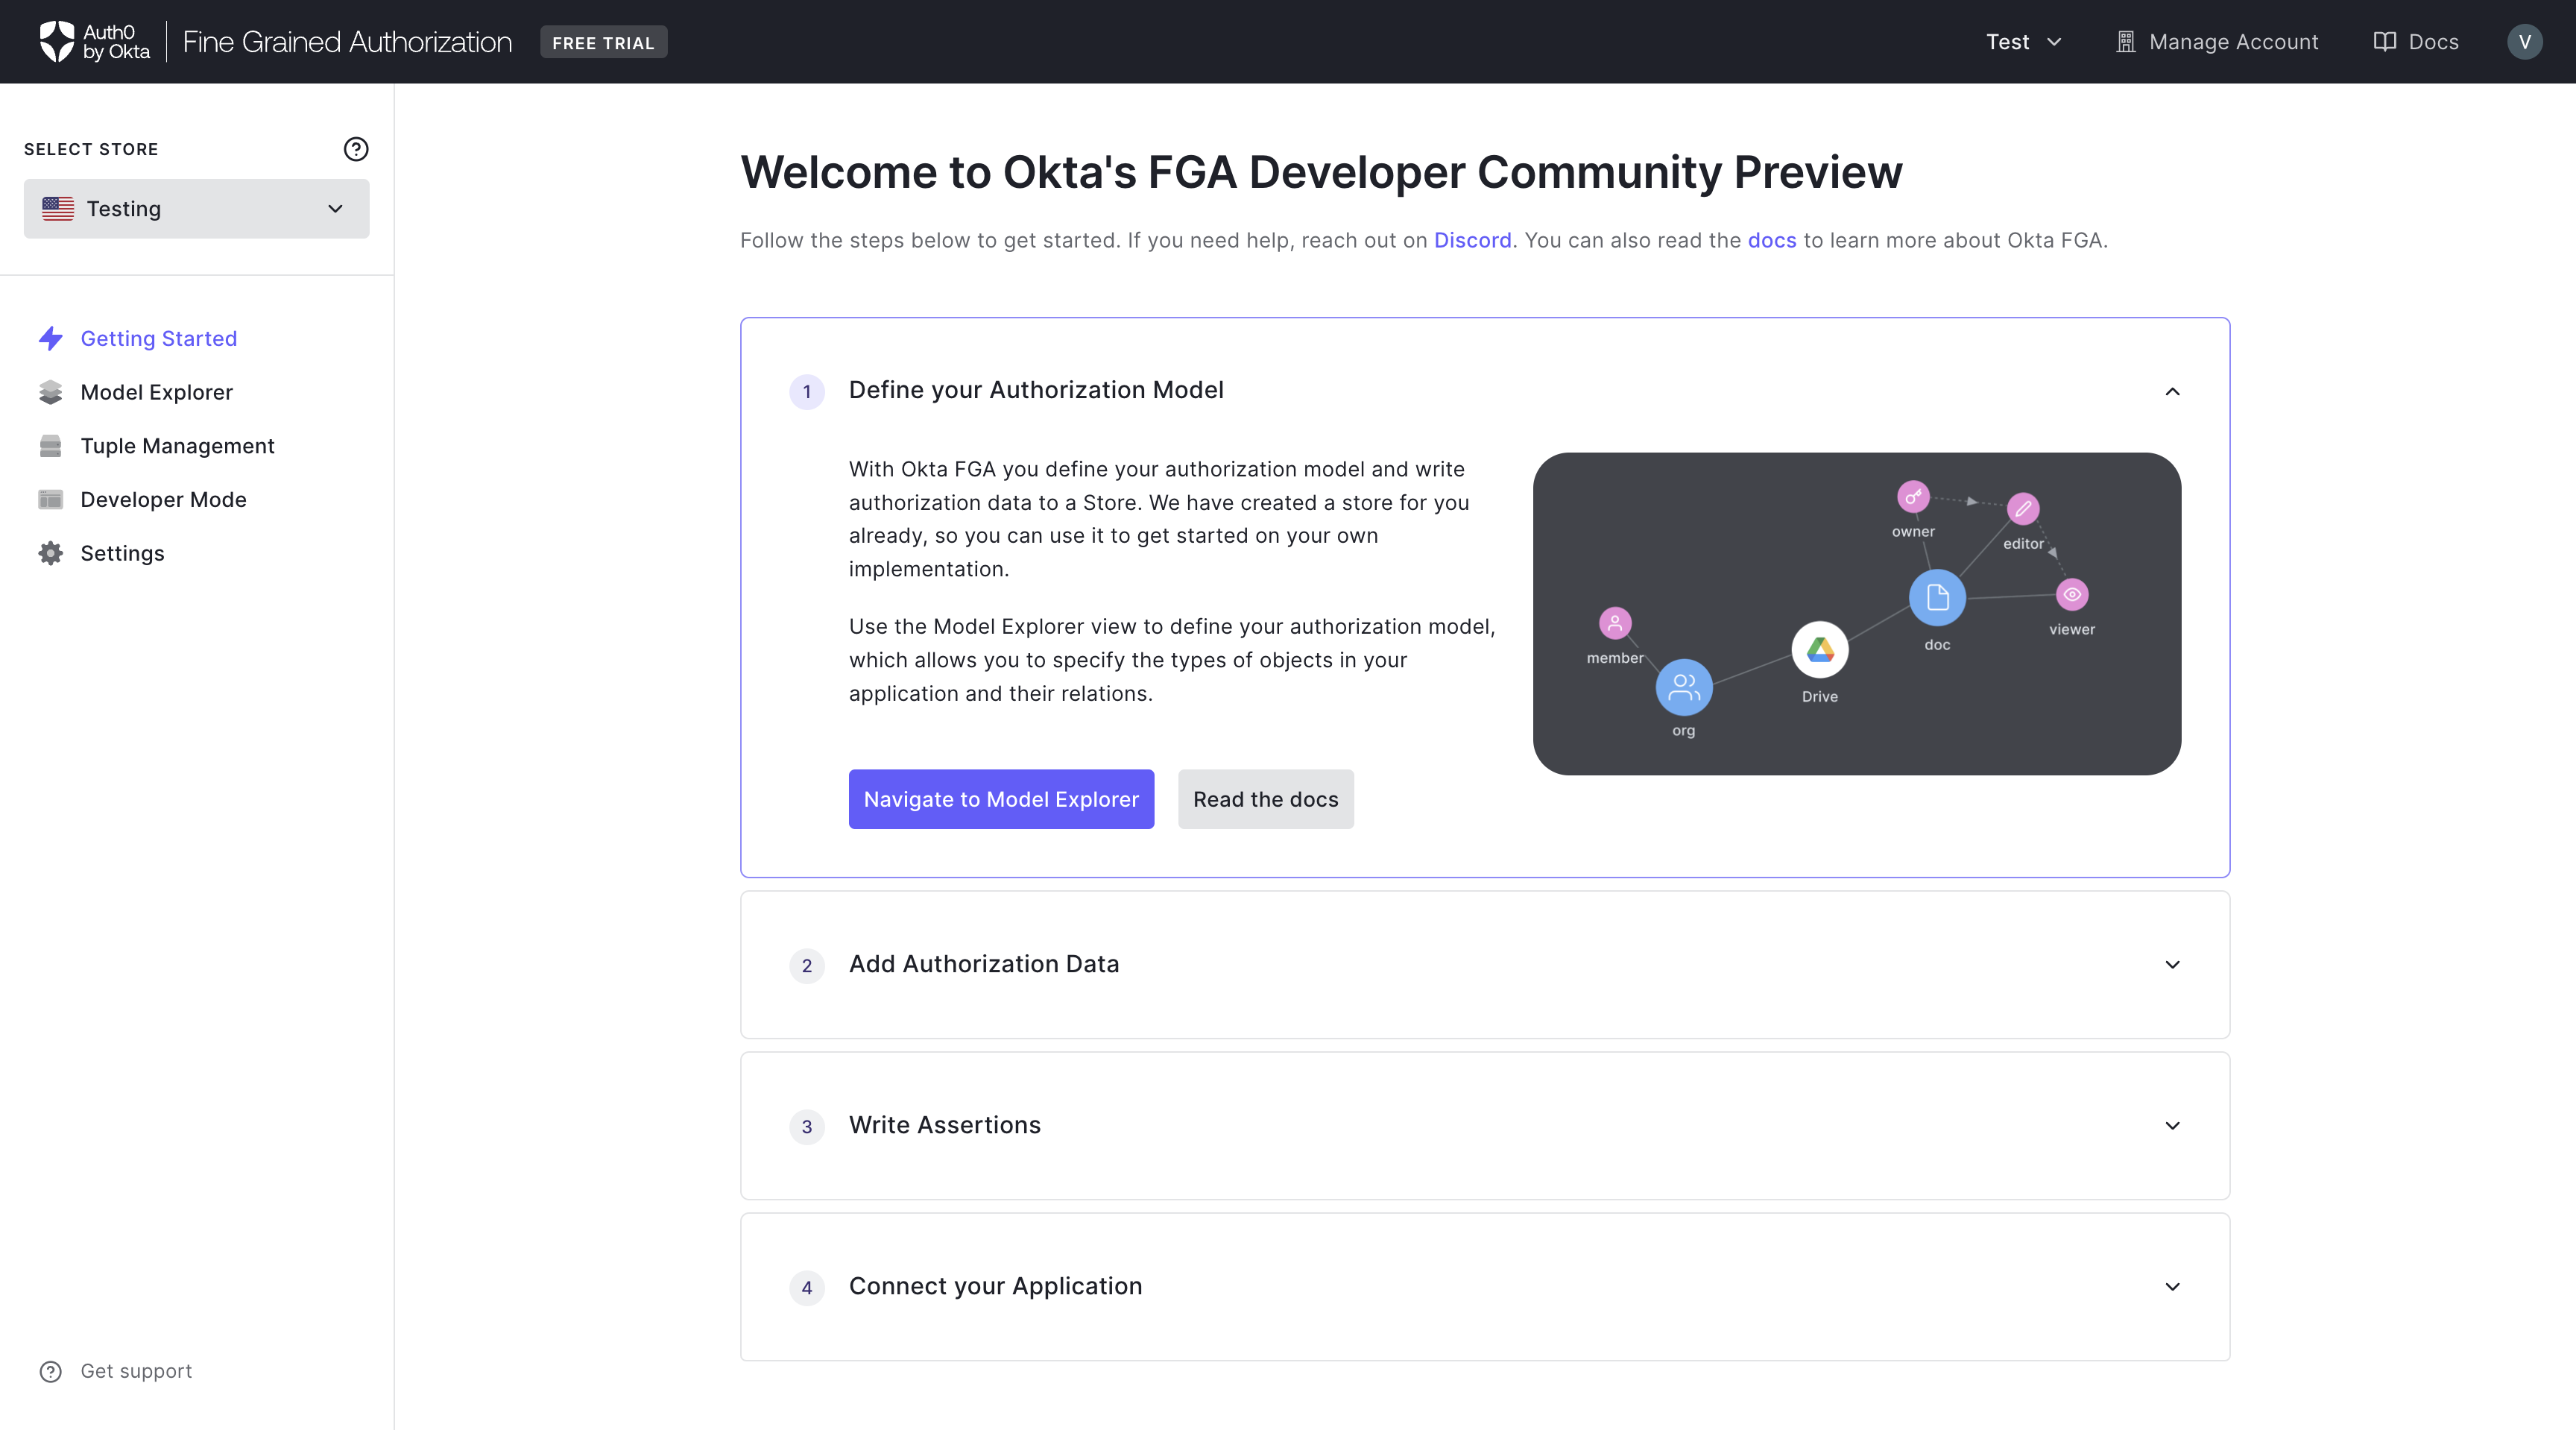
You will be then presented with the Getting Started page which will guide you in the steps for setting up your store. The first step will be Define your Authorization Model. Click Navigate to Model Explorer to get started.
-
You may switch to other steps in the process by accessing the Store Management sidebar.